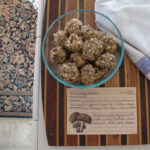
Learn how to make a beautiful cheese board for parties or gatherings. It can be easy, and even cheap! Make a cheese board your guests will flock to.
It can be hard to figure out exactly what to serve your guests. So let’s make it simple!
Sometimes finger foods and snacks are enough or sometimes you want something to put out before the main meal. Traditionally, when I think of “appetizers”, it sounds kind of fussy to me, like something that might be a little pretentious or take too much time to worry about.
I prefer things to be simple and comfortable, and that extends to entertaining and to meal prep as well as just in general life. When folks come over for a gathering, the last thing I want to do is be fussing with food that is tricky to prepare or be worried if things are going to turn out right.
Enter the cheese board.
Nothing could be easier than opening up a few cheeses, slicing some fruit and dumping some olives in a bowl.
Let’s get on with exactly how to make a beautiful cheese board for parties!
{We are a participant in the Amazon Services LLC Associates Program, an affiliate advertising program designed to provide a means for us to earn fees by linking to Amazon.com and affiliated sites.}
The nice thing about cheese boards is how versatile they are. There isn’t much you can’t put on one!
There are different methods for building a great board, and different flavor profiles, such as a charcuterie board, on which the main stars are cured meats. You can do a predominantly fruit and cheese selection, stick with all savory and salty, or mix it up like I did here, with a little bit of sweet, salty and cheesy!
Grab a wooden cutting board that you have in your kitchen.
You don’t need to buy something fancy. If you have any type of flat, wooden cutting board, that will do the trick! In a pinch, you could, of course, even use a platter or perhaps a glass cutting board.
Add some color and texture by draping a simple kitchen towel or cloth napkin over the board casually.
If you are a diy kind of person and love a project, check out this post from Simply Rooted Farmhouse on How to Make a DIY Hardwood Charcuterie Board!
What cheese should I use?
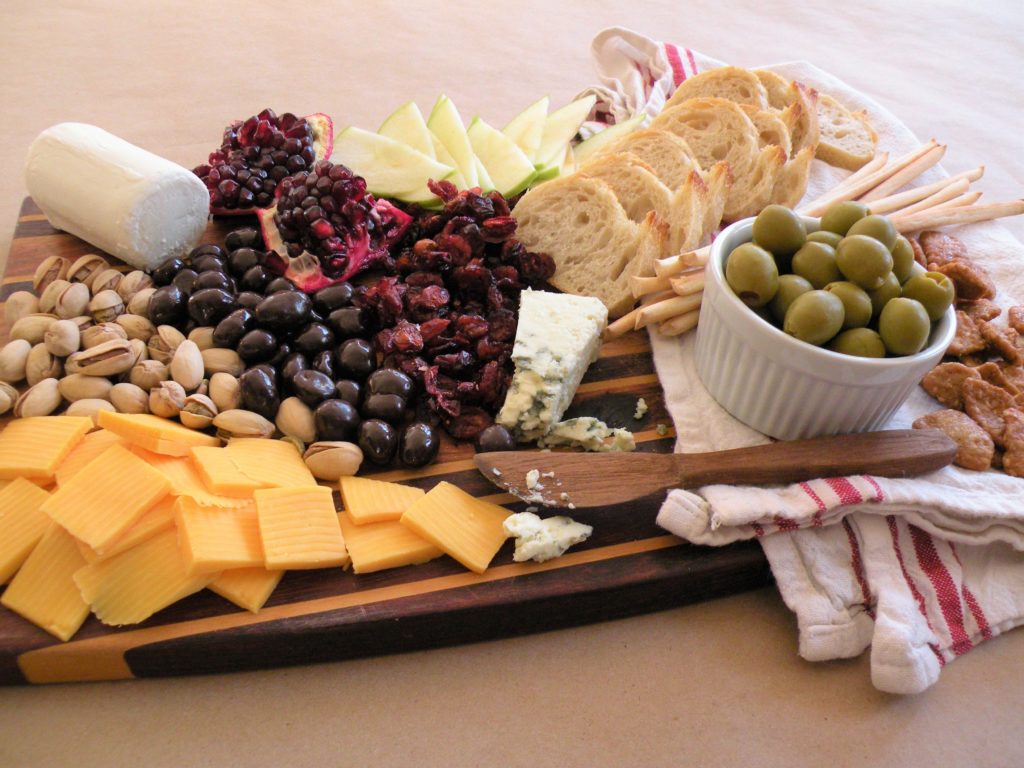
1. I would recommend anchoring your cheese board with 3 selections of cheese. Pick ones that are different from each other… One that is mild, one that is sharp or tangy, and one that is a soft or creamy texture. It’s nice to have the cheeses in varying sizes and color, or sliced in a way that is easy to grab. On the board that I built for this post, I have a honey goat cheese log (creamy), a very basic mild cheddar (sliced in squares for easy snacking), and a wedge of extra aged blue (very tangy and crumbly).
I would recommend going into your local market and browsing the deli cheese section. If you are pinching pennies like I am, grab one or two of a nicer cheese like a middle of the road brie, and a nice bit of blue or some Parmesan to cut into shards. Then hop over to the basic cheese section and pick up a simple cheddar or jack and slice them up.
When assembling the board, you can set out a little cheese knife like my wooden one, or a butter knife also works well for soft cheeses. If you have it, a sharp, cheese knife is nice to set out, too. You can add small tongs or spoons for picking up olives and whatnot if you have them.

What do we eat with the cheese?
2. Now, you need something bready and crunchy to put your cheese on. Here, I have a $1 mini baguette sliced, some little crunchy bread sticks (usually found in the specialty cracker area and very cheap), and some little sesame nuggets I got from the bulk bins for $0.50. Other options might be water crackers, toast points, pita chips, or pretzels.
3. Add a bit of freshness. Pear wedges, grapes, berries, pomegranate seeds (which look stunning on the board), and/or thin slices of apple are all a good place to start. Dried fruit makes a delicious addition. Cranberries, apricots, pineapple and dried cherries are all yummy with cheese. Olives are also a delicious way to add some color and flavor. You can fill a little cup at the olive bar, or buy a jar of green, black or Kalamata. They can be placed in a small bowl or cup to add some interest and height to the board.
4. Fill in the gaps with some little bite size bits. Nuts like pistachios, cashews, peanuts or pecans all are lovely. And of course some chocolate never hurt! Here I have some chocolate covered peanuts that are from the bulk bins. Look at your store’s bulk selection. It’s a great way to get small amounts of things that are perfect to add to a cheese board for a super cheap. (Be careful to check prices per pound. A pound of cashews might make you gasp. But the good news is, for a cheese board, you only need a small handful or two.) It’s fun to try new things and to get just the amount you want!
Arrange it nicely… How to make a beautiful cheese board for parties:
As you lay everything out on your board, pay attention to the colors, sizes and textures of things. Place things in an appealing way, it’s much more fun to eat when it’s pretty!
Bread sticks can be placed in a small mason jar to hold them up and give your board some height.
Crack open a pomegranate, as shown. It looks so beautiful when still in the skin.
Make little trails and piles of the small bits.
The use of a small cup or bowl or a little saucer or plate can mix things up visually, while corralling something that is wet or juicy and might seep into the bread or cheese and make them soggy.
If you need a little extra inspiration, head on over to the Weelicious website and check out Catherine’s STUNNING boards. Hers are always absolutely gorgeous. (Love this website for healthy food inspiration, by the way.)
See? Now you know how to make a beautiful cheese board for parties and your gatherings. It will be a huge hit!
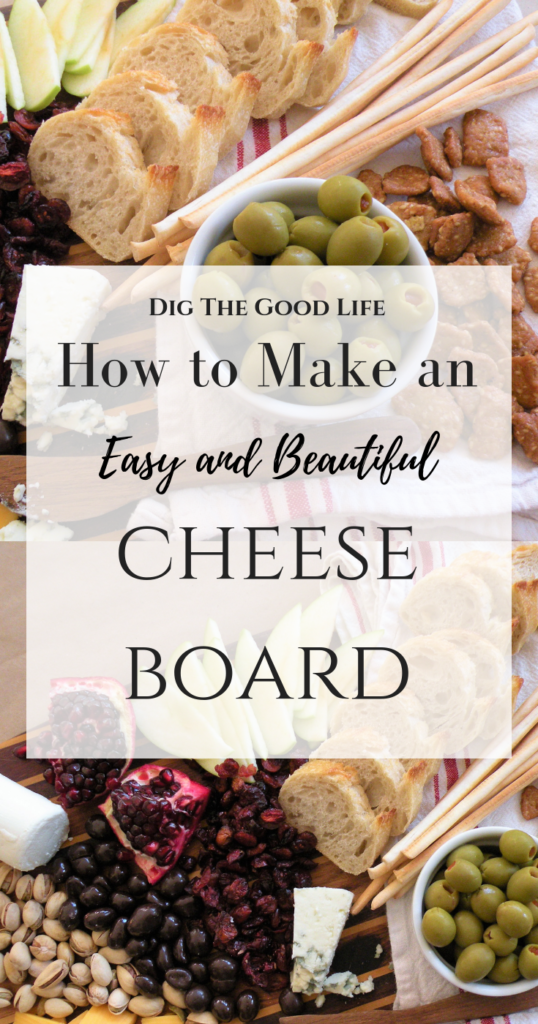
Pin For Later:
(Hover mouse over picture and click red button that appears. On a device, tap picture and button will appear. Sharing my pins is very helpful to my blog. Thank you!)
Go Shopping:
Some more posts you might like to read:
A Very Thankful Craft Paper Table Runner
Are you a fan of cheese boards? What do you like to put on one? Leave your tips down in the comments for us!
Share on social media and Pinterest with your friends! Thanks for stopping by today, see you next time!

Leave a Reply