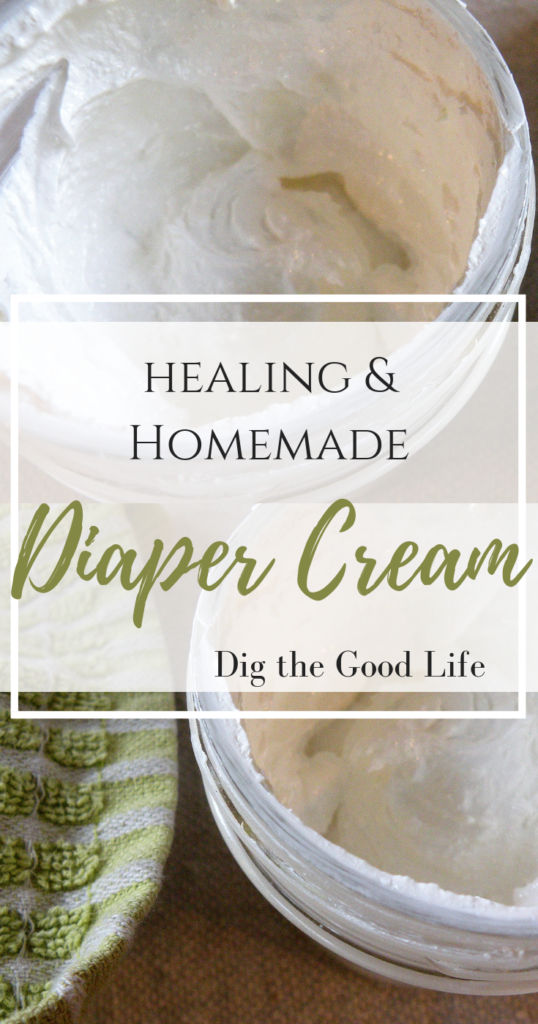
In this post, I share with you haw to make your very own homemade, healing diaper rash cream for the little bums in your life!
I am sharing my very favorite diaper cream of all time, homemade or store bought.
I have been making this recipe for almost a year now (updated: 4 years!) and I can attest to the fact that it is the best rash cream I’ve ever used on my babies. Homemade or store bought! I love knowing that I’m using safe products on my kids.
Did you know that some of the most toxic personal care products on the market are for babies?!
Full of synthetic fragrances, talc and bismuth, lung irritants, and other delights. So when I can whip up my own product that works and I know it’s safe, it makes me happy, happy, happy!!
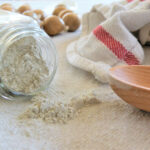
Speaking of which, also go check out my popular Natural and Safe Baby Powder recipe. It is simple to whip up and works like a charm without any of the nasty ingredients.
I LOVE THIS RASH CREAM. Did I mention that? Haha.
It is great for more than just baby diaper rash!
It is an all around skin soother! Great for irritation, and magic for chaffing! It is rich and protective, water resistant and healing. Plus, super easy to make!
{We are a participant in the Amazon Services LLC Associates Program, an affiliate advertising program designed to provide a means for us to earn fees by linking to Amazon.com and affiliated sites.}
Ingredients for Healing, Homemade Diaper Rash Cream Linked:
- Shea Butter
- Coconut Oil
- Cocoa Butter
- Sweet Almond Oil
- Olive Oil
- Non-Nano Zinc Oxide Powder
- Essential oil *optional (Please use only high quality oils!)
The Oils and Butters
Shea butter, coco butter and coconut oil all set up to a solid around room temperature and below.
Olive oil and sweet almond are liquid.
You just want the majority of your cream to be made up of the solidifying oils and butters, and add a bit of the other for their healing and moisturizing benefits, but not too much.
You can swap around a play a bit with the ingredients, if you don’t have sweet almond, no harm. If you don’t have the coco butter, you can do without, although it does make it smell wonderful.

Getting The Right Consistency
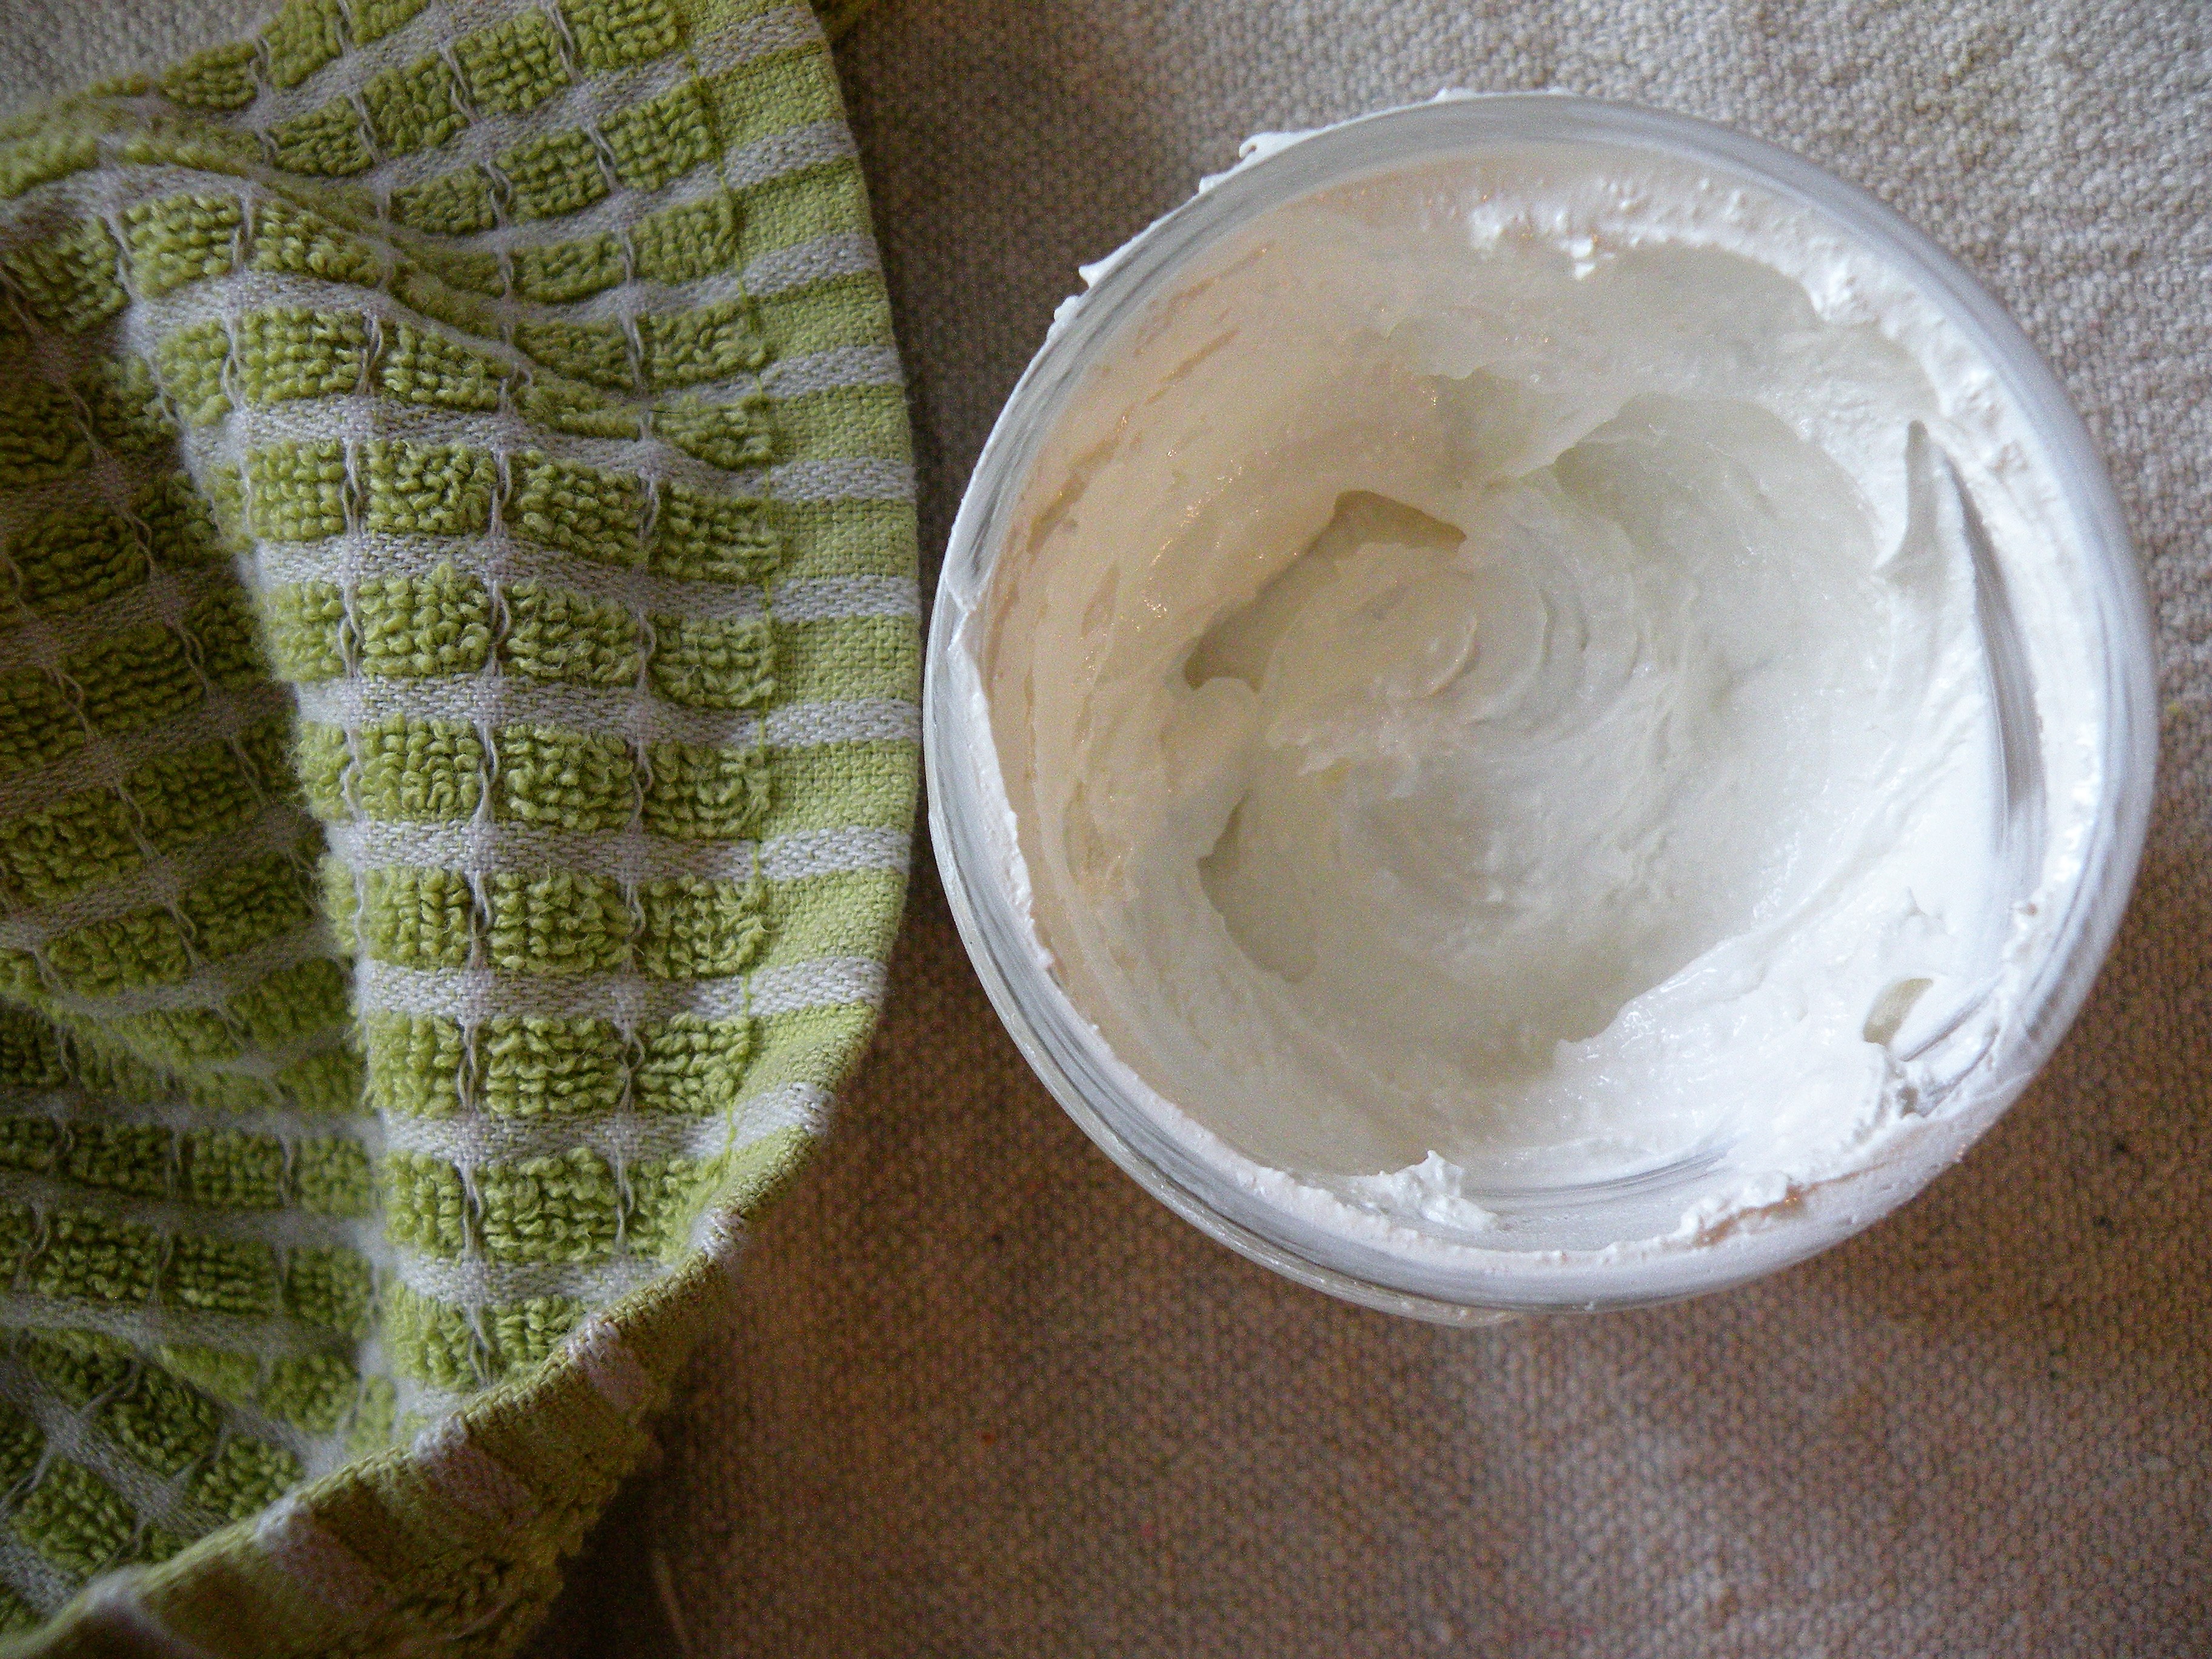
At the end, when you add the zinc oxide is when the texture gets really nice and creamy and thick.
Allowing it to set up in the fridge will speed the process up quite a bit, but it does set up pretty quickly anyway.
You are left with the most dreamy, almost fluffy, most definitely velvety cream. You don’t even have to whip it, or anything! Yes, it’s that good.
And yes, I know that I am possibly overexcited about diaper rash cream. It’s just how I roll. I’m a blast at parties.
Essential Oils
I love to add essential oils to mine for the aroma and for some skin benefits. My favorite to add for my babe is a called Gentle Baby. It is amazing for skin, and for soothing and creating a relaxing atmosphere. Perfect for baby’s bedtime!
I also like to keep a roller bottle with sweet almond oil and some Gentle Baby on the changing table to roll on tiny feet and along the spine before bed. And Mama huffs some too!
Print Out The Recipe:
Creamy & Velvety DIY Diaper Cream
Ingredients
- 2 tbsp Shea Butter
- 2 tbsp Coconut Oil
- 2 tbsp Coco Butter
- 1 tsp Olive Oil
- 1 tsp Sweet Almond Oil
- 2-3 tbsp Zinc Oxide Powder Non-Nano
- 1-2 drops Essential Oils of Choice I love Young Living’s Gentle Baby
Instructions
-
In a double boiler over medium heat, melt all your oils and butters together and stir together until well combined and liquefied.
-
Remove from heat and and gently add zinc oxide a small spoonful at a time, stirring to incorporate, until cream begins to appear thicker, opaque and may look a bit lumpy. Then add a few drops of essential oil if you wish and stir. Easy peasy!
-
Pour into a small jar and place a tight fitting lid on. Refrigerate for at least an hour to allow to set up. (Does not need refrigeration to stay fresh. I keep it on my changing table.) Use at every diaper change, or just as needed to soothe red, rashy bottoms. OR may be used for many types of skin irritations. It is magical for chaffing!
Recipe Notes
- If you don’t have a double boiler, put an inch or two of water in the bottom of a pot and sit a smaller, metal bowl down in there. That’s what I do!
- Remember, as long as your main ingredients are the solidifying oils/butters and adding a bit of the liquid oils for good measure, your cream will set up well.
- There may be lumps from the zinc oxide… its OK. Work them out the best you can with the back of a spoon and don’t worry about it. It doesn’t affect the application.
- If you add essential oils, it may only take a few drops! Remember, you can always add more, but you can’t take it out!
- This starts to set up quickly once you remove it from the stove! Your spoon and pot/bowl will have a coating of cream that you will need to remove with a paper towel before hand washing with hot water and soap. DON’T put them in the dishwasher. Just take my word for it. Sigh.
- This last very well at room temperature for quite a long time! At least a year… Maybe more!
Pin it for Later:
(hover mouse over picture below and click on the little red box that appears)
Go Shopping:
Young Living Gentle Baby Essential Oil
You Also Might Like:
Natural and Safe Homemade Baby Powder
6 Simple Living Newborn Must Haves
Get Rid Of Cradle Cap Naturally
4 Reasons Kids Should Do It Themselves
Thanks so much for stopping by for a spell and remember, always Dig The Good Life!
Love,


With how this sets up, any luck or attempts to fill a chapstick tube or similar for easier application? Also, is this cloth diaper safe?
I haven’t tried that, but I think the cream would be a little too soft to hold to a stick form. With the zinc oxide in it, I would not use it directly with cloth diapers, but would be fine with a fleece or disposable liner! I made my own fleece liners to use and that worked great! Here is a post that shows how I made my own liners, in case that’s helpful!
https://www.digthegoodlife.com/best-overnight-cloth-diapers-for-toddlers/
Hi ! I have made the diaper cream but it hasnt set properly.. I added only 2 tbsp of zinc oxide to the oil and butters.. And guess thts why it didn’t set.. Is there anyway I can fix it?
Hi there! Thanks for trying my recipe! I’m sorry it didn’t set right up for you. Did you put it in the fridge and see if that would help? If so, then my suggestion would be to remelt it and add more zinc oxide. The solidifying ingredients should be the shea butter, the cocoa butter and the coconut oil. If there is too much of the liquid oils, that could also affect the solidity. Let me know how it works out and if you need any more help! Have a wonderful day. ~Hope